Heat Pump Thermostat Troubleshooting: Common Problems and Repair Guidance
Your heat pump thermostat is the system’s command center — it tells the heat pump when to run, when to call for auxiliary heat, and how to hold a comfortable indoor temperature. When that control breaks down — from power loss, bad readings, or wiring issues — comfort, efficiency, and equipment life suffer. This guide walks you through the most common thermostat problems, homeowner-safe troubleshooting steps, how to decide between repair and replacement, and when to call a professional to avoid expensive damage. You’ll find clear checklists, wiring and calibration tips, decision criteria, and preventive maintenance advice for heat pumps and compatible thermostats (including smart models). If you need on-site diagnostics or fast service during an urgent failure, contact information for Zen Aire Air Conditioning & Heating LLC appears later — we serve Las Vegas homeowners and respond quickly. The article below is arranged for practical troubleshooting: common problems, step-by-step checks, causes and cost considerations, system-level heat issues, when to call a pro, and how routine maintenance prevents most thermostat failures.
Most Frequent Heat Pump Thermostat Problems
Homeowners usually see the same handful of thermostat issues that affect heat pump performance and comfort. Problems can be obvious — like a blank screen — or subtle, such as a miscalibrated sensor that forces backup heat to run needlessly. Recognizing the symptom helps you choose the right troubleshooting path, and many early checks are safe to do without tools. Below is a concise list of the issues we see most often.
- Blank display or no power: The thermostat is dark or non-responsive even though the system appears connected.
- Wrong temperature reading: The thermostat sensor reports an incorrect temperature, causing overshoot or constant cycling.
- Short cycling: The heat pump turns on and off too frequently, which shortens equipment life and lowers efficiency.
- Thermostat won’t switch to heat or emergency heat: Mode or staging control fails and the system doesn’t enter heating when it should.
- Smart thermostat compatibility glitches: Communication or configuration problems between the heat pump and smart thermostat lead to erratic behavior.
Knowing these common issues helps you perform safe checks and tells you when wiring or control work likely needs a technician.
Why Won’t My Heat Pump Thermostat Work?
A thermostat that stops working usually traces back to a few root causes: lost power, dead batteries in battery-operated models, an internal electronics failure in digital units, or loose wiring at the terminal block. Start with easy, non-invasive checks — replace batteries and confirm breakers and exterior disconnects are on — since many “dead” thermostats are just power problems. If power checks don’t fix it, smart or programmable units can have firmware or internal component failures that require professional diagnostic tools. If the thermostat stays unresponsive after basic checks, suspect wiring faults or a failed control board; those connect directly to your heat pump’s controls and should be inspected by an HVAC technician to avoid electrical hazards.
How to Troubleshoot a Blank Display or No Power
Isolating a blank display is a safety-first process: replace batteries first, then check the indoor breaker and the outdoor unit’s service switch, and finally confirm whether the thermostat’s power terminal (R/C/B) is present. Many modern digital thermostats need a C-wire for continuous 24VAC power — without it they may remain blank. Look for loose or corroded wiring with a flashlight, but don’t probe live terminals unless you’re qualified; take clear photos of the wiring to share with a technician. If these steps don’t restore power, a pro can test the transformer, control board, and the thermostat itself to find the fault.
How to Troubleshoot Heat Pump Thermostat Issues Effectively
An orderly, safety-first workflow prevents unnecessary part swaps and separates what you can do from what requires a technician and tools. Verify power and settings, confirm sensor accuracy, inspect visible wiring, then move to system-level checks only if necessary. The short checklist below helps homeowners complete initial checks in minutes and gathers the info a technician will need if a service visit is required.
- Check power and batteries: Replace batteries if applicable and confirm breakers and HVAC disconnects are on.
- Confirm mode and setpoint: Set the thermostat to “Heat” (or the heat pump mode) and make sure the set temperature is above room temperature.
- Compare temperatures: Put a reliable room thermometer next to the thermostat to check for calibration differences.
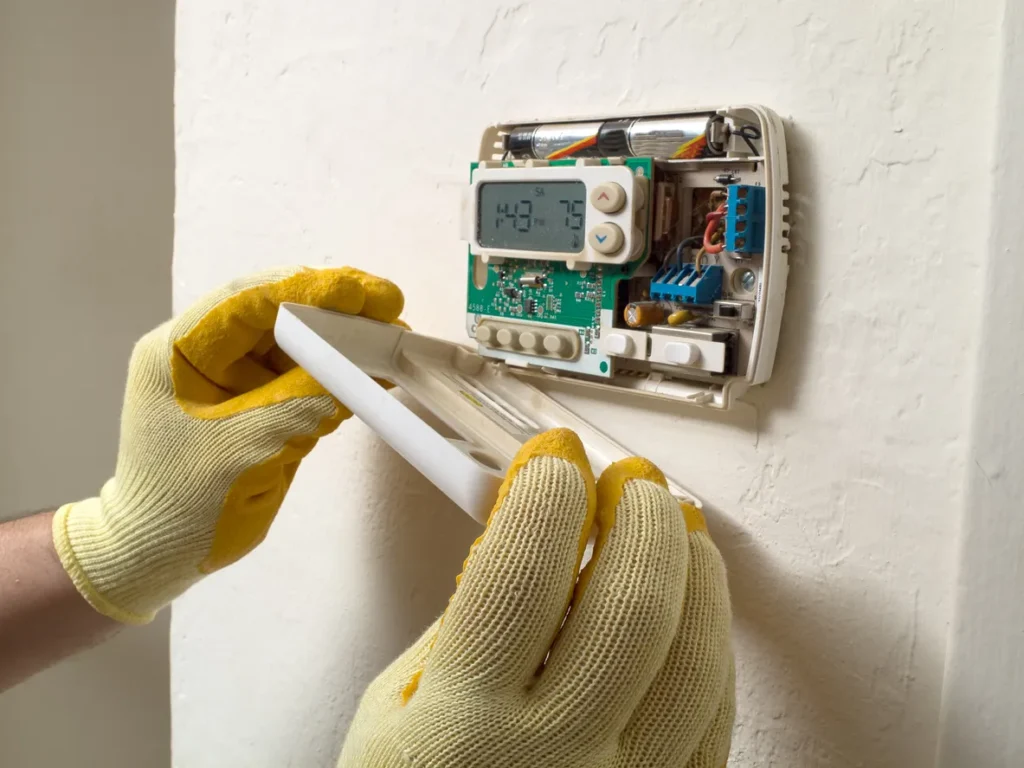
- Visually inspect wiring: Turn off power at the breaker, then look for loose, frayed, or corroded wires and photograph the wiring before touching anything.
- Know when to stop: If there’s no C-wire for a powered thermostat, wiring looks damaged, or system-level errors appear — schedule professional service.
These steps are safe for most homeowners and provide clear, useful data for a technician if you need on-site help.
Calibration and Settings: What You Should Check
Calibration confirms the thermostat’s sensor matches the room temperature and that settings aren’t accidentally calling for auxiliary heat. Start by comparing the thermostat reading with a calibrated thermometer placed at the same height and away from drafts or sunlight; a 1–2°F difference is normal. Many digital thermostats offer an offset or calibration setting — check the manual to adjust or reset to factory defaults. Review configuration items that affect heat pump behavior, such as staging, minimum run times, and auxiliary heat lockout; incorrect options can trigger backup heat unnecessarily and raise energy bills. If you can’t correct the reading through settings, the thermostat sensor or internal electronics may need professional replacement.
How to Spot Wiring and Connection Problems
Heat pump thermostats use labeled terminals: R (power), C (common), Y (compressor), W (auxiliary heat), and O/B (reversing valve). Make sure each wire is securely fastened to the correct terminal and check for discoloration or broken insulation that could indicate overheating, corrosion, or shorting. When testing is required, a technician will measure 24VAC between R and C, check continuity, and confirm control voltages during mode changes — homeowners should not probe live circuits. If you’re installing a smart thermostat without a C-wire, consider a C-wire adapter or a professional rewire since many smart units need continuous power. Take clear photos of the wiring before disconnecting anything and share them with the technician to speed diagnosis.
Before the following table, here’s a quick checklist to help you check thermostat components and what to expect.
| Component | What to Check | Expected Normal Result |
|---|---|---|
| Power terminals (R/C/B) | Presence of 24VAC with power on (tech measurement) | Stable ~24VAC between R and C |
| Batteries | Correct orientation and voltage in battery compartment | Fresh batteries read near rated voltage and restore the display |
| Mode and setpoint | Thermostat set to Heat/Heat Pump and setpoint above room temp | Thermostat issues a heat call and outdoor unit starts after a short delay |
| Wiring terminals | Secure, non-frayed connections labeled correctly | Wires fastened firmly with no signs of corrosion |
What Causes Thermostat Repairs — and What Affects Price?
Repair needs usually stem from electrical faults, failed internal components, damaged wiring, or compatibility issues with modern smart thermostats. Cost drivers include diagnostic time, part complexity, compatibility adjustments, and any system-level repairs discovered during troubleshooting. Instead of listing exact prices here, focus on what changes cost: a basic programmable thermostat is cheaper to replace than a smart model, adding a C-wire or rework raises labor, and emergency or after-hours service increases rates. Ask providers about diagnostic fees, whether quotes include parts and labor, and whether they confirm compatibility with your heat pump services before installing a new thermostat.
The table below pairs symptoms with likely causes and the sensible next steps for homeowners or professionals.
| Symptom | Likely Cause (Attribute) | Typical Action (Value) |
|---|---|---|
| Thermostat blank | Power loss, dead batteries, or missing C-wire | Replace batteries, check breakers; call a tech if still dead |
| Incorrect temp reading | Sensor fault or poor placement | Reposition thermometer, use offset if available; call a tech if it persists |
| Short cycling | Wrong settings, failed relay, or low refrigerant | Adjust settings; schedule a technician for relay/compressor checks |
| Auxiliary heat stuck on | Staging control fault or sensor/board issue | Check settings, then arrange professional control-board inspection |
Typical Repair vs. Replacement Cost Factors
Costs vary because issues range from a simple battery swap to a full smart-thermostat retrofit that needs wiring changes and extra labor. Key factors include the thermostat type (basic vs. smart), whether a C-wire is required, labor to diagnose wiring or control boards, and any system repairs found during inspection. Ask prospective providers for a written estimate that itemizes diagnostic fees, labor, and parts, and inquire about warranties. Getting at least one local written quote helps you decide whether replacement is the better long-term value.
When Replacement Makes More Sense Than Repair
Replace the thermostat when controls are outdated, failures repeat, or the unit can’t properly stage auxiliary heat or connect with modern heat pump controls. Older mechanical or basic digital thermostats that can’t manage heat-pump staging often cost more in inefficient runtime and emergency calls than a one-time upgrade. Frequent service visits for different issues also point to unreliable hardware — replacing the thermostat can reduce future emergencies. Consider replacement when repair costs approach replacement price and when a newer, heat pump-compatible thermostat will lower operating costs over time.
Why Isn’t My Heat Pump Producing Heat Even Though the Thermostat Is Set?
If the heat pump isn’t delivering expected heat despite correct thermostat settings, the fault may be at the system level rather than the thermostat. Common causes include auxiliary heat staging, reversing valve or defrost-cycle behavior, low refrigerant or compressor problems, or short cycling that prevents adequate runtime. It’s important to separate thermostat configuration issues (which you can often address) from mechanical problems (which require professional service). The checklist below helps narrow the likely cause.
- Confirm thermostat mode and fan: Make sure the system is in heat mode and the fan setting will circulate warm air.
- Watch temperature patterns: If warm air appears intermittently, it may be a defrost cycle; if you never get warm air, suspect the compressor or low refrigerant.
- Look for short cycling: Rapid on/off cycles point to control or compressor problems that limit heat output.
- Log auxiliary heat operation: If auxiliary heat runs continuously, the outdoor unit or staging controls may be failing.
These checks narrow the problem and indicate whether the thermostat settings or the heat pump hardware needs professional attention.
Why Is My Auxiliary Heat Staying On?
Auxiliary heat kicks in when the heat pump can’t meet the setpoint or when outdoor conditions trigger backup staging. If auxiliary heat stays on all the time, likely causes include incorrect thermostat staging, a failed outdoor unit, or a sensor/control-board fault that misreads demand. Continuous auxiliary use quickly raises energy bills because resistance or fossil-fuel backup is far more expensive than the heat pump. Start by verifying staging and configuration; if settings look correct, schedule a technician to test the outdoor unit, staging logic, reversing valve, and sensor accuracy.
Fixing Cold Air from Vents When the Thermostat Is Set to Heat
Cold air while in heat may be normal during a brief defrost cycle, but persistent cold air indicates a problem: wrong mode selection, reversed reversing-valve wiring, low refrigerant, or compressor failure. First confirm the thermostat is in the correct heat-pump mode (not a heat-strip or auxiliary-only setting) and that the reversing valve is commanded correctly in heat. If wiring and mode are correct, a professional should test refrigerant pressures and compressor operation — low refrigerant or compressor faults prevent heat transfer and require certified HVAC maintenance plan. If the issue began after swapping thermostats or changing wiring, recheck terminal assignments and call a technician to avoid further damage.
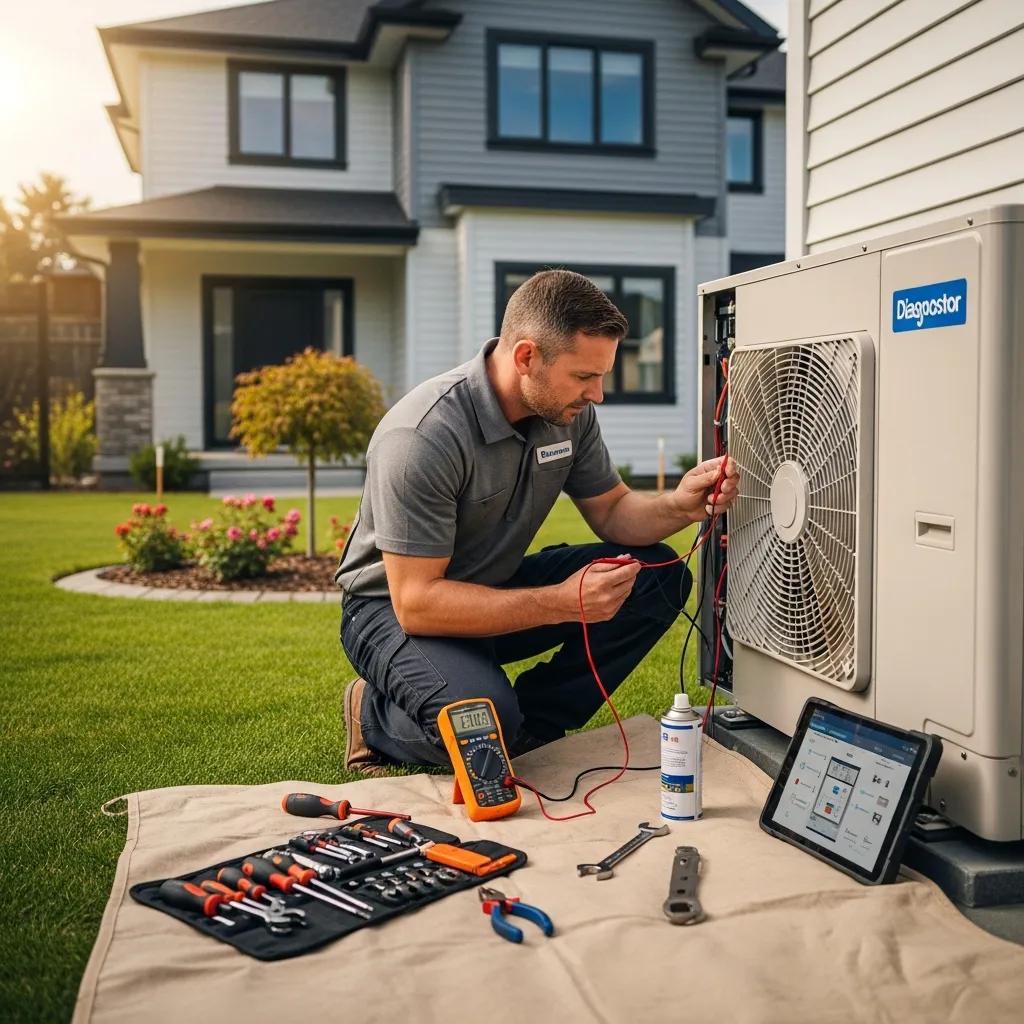
When to Call a Professional HVAC Technician
You can handle basic power and configuration checks, but many thermostat and heat pump issues need professional tools, training, and safety procedures. Call a professional when live electrical testing is necessary, when wiring or control boards need replacement, or when system-level diagnostics (refrigerant pressures, compressor tests) are indicated. A licensed technician also confirms thermostat compatibility and correctly configures smart thermostats for heat-pump staging to prevent unnecessary auxiliary heat. Use the checklist below to decide whether to call a technician now.
- Call a pro if: You need a C-wire for a smart thermostat, wiring is corroded or damaged, auxiliary heat is stuck on, or the outdoor unit produces no heat despite correct thermostat commands.
- Consider professional service if: Problems continue after basic checks, repeated visits are needed, or you want help selecting a heat pump–compatible smart thermostat.
- OK to DIY if: The issue is battery replacement, a tripped breaker, or simple mode/setpoint misconfiguration.
Professional service offers accurate diagnosis, safe wiring and refrigerant handling, and correct configuration to reduce repeat failures and save energy over time.
Benefits of Professional Thermostat Repair and Maintenance
Professional repair and maintenance deliver precise diagnosis, correct wiring and compatibility setup, and preventive work that extends equipment life and lowers energy use. Technicians verify 24VAC power, confirm reversing valve and staging behavior, and make sure thermostat settings match the heat pump’s control logic — limiting unnecessary auxiliary heat and short cycling. Quality service includes system performance testing, secure terminal connections, and firmware or device updates for smart thermostats when available. Routine professional maintenance also documents system condition, helping prioritize repairs before failures and making operating costs more predictable.
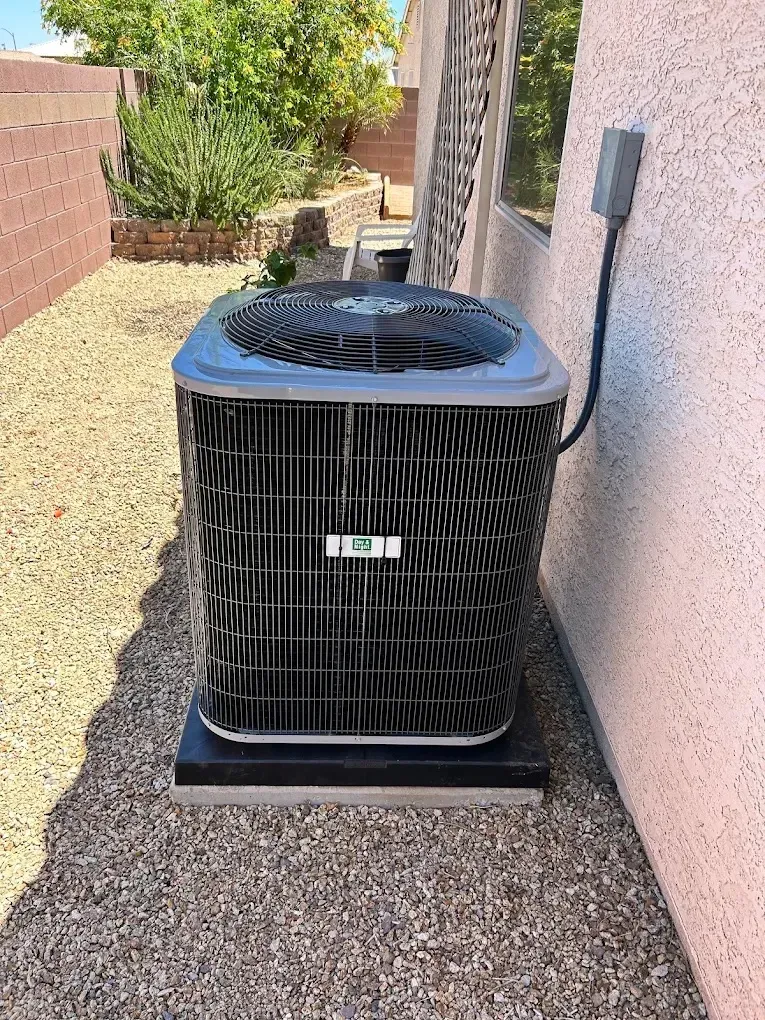
How Zen Aire Air Conditioning & Heating Helps Las Vegas Homeowners
Zen Aire Air Conditioning & Heating LLC offers heat pump thermostat service across the Las Vegas area, with repairs, maintenance, and installations focused on homeowner priorities: fast response, clear pricing, and dependable results. For urgent thermostat or heat pump failures we offer flexible scheduling and 24/7 emergency service to minimize downtime. We also provide maintenance plans and financing options to spread larger upgrade costs, and our online contact form makes booking a visit simple — or call (702) 538-9360 to discuss diagnostics or schedule an appointment. These options help homeowners move from basic checks to professional support quickly and with predictable service choices.
Frequently Asked Questions
What are the signs that my heat pump thermostat needs calibration?
Watch for temperature readings that differ noticeably from a reliable room thermometer, frequent long run times or repeated on/off cycles, and unnecessary activation of auxiliary heat. Those symptoms often point to calibration or sensor-placement issues. A quick comparison with a handheld thermometer and small offset adjustments can solve minor drift; persistent differences should be checked by a technician.
How can I improve the efficiency of my heat pump system?
Start with routine maintenance: clean or replace filters, seal duct leaks, and keep the outdoor unit clear. Proper insulation and air-sealing reduce heat loss. Upgrading to a heat pump–compatible smart thermostat can optimize schedules and reduce energy use. Finally, make sure your heat pump is correctly sized for the home — oversized or undersized systems run inefficiently and cost more to operate.
What should I do if my smart thermostat stops talking to my heat pump?
First check Wi‑Fi and that both devices are on the same network. Confirm thermostat compatibility with your heat pump and inspect wiring, especially the C-wire. If basic steps don’t restore communication, try a thermostat restart or reset per the manual. If problems persist, contact a professional to verify wiring and control compatibility.
How often should I schedule professional maintenance for my heat pump?
Have a professional inspect your heat pump at least once a year, ideally before the heating or cooling season. Annual visits catch refrigerant, electrical, and control issues early. In climates with extreme seasons or heavy use, twice-yearly checks can provide extra reliability.
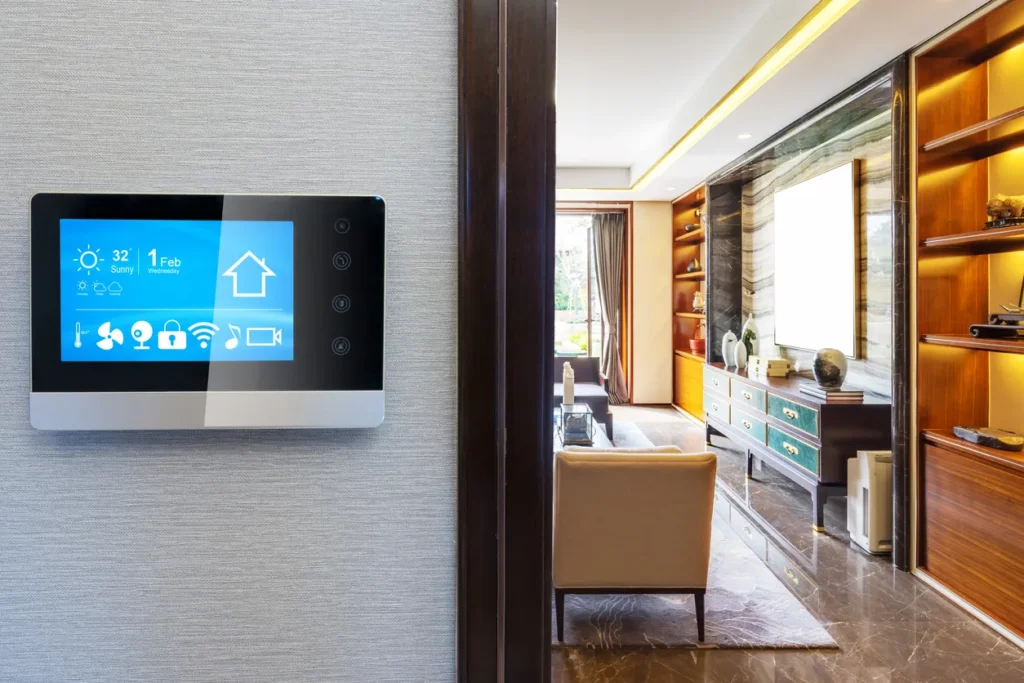
What are the benefits of upgrading to a smart thermostat for my heat pump?
A compatible smart thermostat can improve comfort and reduce energy use by learning schedules, optimizing setbacks, and managing staging and auxiliary heat correctly. Remote control and usage reports help you monitor performance, and maintenance alerts can flag problems early. Be sure to confirm heat pump compatibility before upgrading.
Can I install a smart thermostat myself, or should I hire a professional?
Some homeowners can install a smart thermostat, but if your system needs a C-wire, has complex staging, or you’re unsure about compatibility, we recommend a professional install. A technician can confirm wiring, program correct heat-pump settings, and avoid costly mistakes.
What common mistakes should I avoid when troubleshooting thermostat issues?
Don’t skip the basics: check power, batteries, and breakers first. Avoid guessing the fault without proper observation, and don’t perform live electrical tests unless you’re trained. Also, consult your thermostat manual for device-specific troubleshooting steps before making configuration changes.
Conclusion
Keeping your heat pump thermostat working well is key to comfort, efficiency, and equipment longevity. Start with the simple checks in this guide, and call a licensed technician when wiring, control boards, or system-level diagnostics are involved. If you need local service, Zen Aire Air Conditioning & Heating LLC supports Las Vegas homeowners with diagnostics, maintenance plans, and 24/7 emergency response. Contact us to schedule a visit or learn more about preventive service that protects your investment.